Thursday, 28 January 2016

Avocado leaf browning, what is wrong?

I have placed my avocado seedlings on my window sill in my previous house. They were growing quite well and I didn't notice any abnormalities. However, I had to move house and I took them down from the window sill and notice that there are leaves turning brown. I'm not sure whether it is caused by salt accumulation or too much water.

As the new house has a big balcony which has at least 7 hours of direct sunlight, I'm afraid that it will burn the leaves. I bought new pots (bigger) and a couple of kilograms of garden soil. I just removed the seedling from the old pot together with the soil and placed it into the new bigger pot. I added the new garden soil around the perimeter to top-up the soil to the empty area.

I chose garden soil as I thought that it will be better than the commercialised potting soil. I will monitor closely and changed the soil if the plants are in stress.

I have three seedlings that have grown quite a bit and I placed one seedling in full direct sunlight and the remaining two in partial sunlight. Below are two photos that showed the leaves turning brown partially and not at the tip of the leaf. I was thinking of sun-burning of the leaves due to the intense sunlight but I'm not sure. Anyone has experience in this kind of problem? Please share and advise.

Avocado has many health benefits and Marry Spencer has listed 13 of them. Check it out at her post.

Leaf turning brown - what is the cause?


Leaf turning brown - what is the cause?

Monday, 4 January 2016

Air Layering of Hibiscus Plant

On new year's eve, I tried to propagate my Yellow Hibiscus Plant. This Yellow Hibiscus is pretty and had bloomed 5 flowers already. It is still producing buds for flowering. I tried to pollinate the flowers but failed. The "ovaries" would drop from the stalks after a couple of days. It is very difficult to pollinate the flowers.


I made two cuts on a woody branch that has no bud. I peeled the bark away between the two cuts to expose the white area. Under the bark, the branch is green and you need to cut or scrape the green surface away. Try not to do too much as it may break the branch. I cut a hole in a plastic bag and inserted the branch into the hole.


I tied the end of the plastic bag with a wire to secure the base with the branch. This is to prevent the sphagnum moss from coming out of the bag.


I used a swap to apply the rooting hormone onto the white surface of the branch.


Applying the rooting hormone on the exposed branch area.


I have pre-soaked the sphagnum moss in water for a few hours. Squeezed dry the sphagnum moss but they are still moist. Wrapped the moist sphagnum moss over the branch and covered it with the plastic bag.


Wednesday, 23 December 2015

Yellow Hibiscus Plant

We came across this Yellow Hibiscus plant in a market. The yellow flower was big and attractive and it immediately caught our attention. The plant is just only $5 per pot. We bought it and brought it home.
 
Yellow Hibiscus Plant


Yellow Hibiscus Flower

According to the internet, the YellowHibiscus is a flowering shrub that grows on all the Hawaiian islands except Ni’ihau and Kaho’olawe. All three subspecies of the yellow hibiscus are listed as endangered species. Even in Hawaii, the plant is rare. I don’t think it is endangered as I have seen them here in Singapore and many places. Probably it is endangered in Hawaii.
 
The first thing I noticed is the large bright yellow flower. There are a couple of buds on the plant waiting to bloom.


Withered flower
Withered flower
 
The flower lasted only about 2 days and then it will wither and drop off from the flower stalk. The ovary is left and if it is successful in the pollination process, it will develop into a pod with seeds. If it is unsuccessful, it will drop off when it is still green. The "ovary" dropped off after two days, so it is not unsuccessful.
 
Hibiscus "ovary"
Hibiscus "ovary"
 
After the "ovary" dropped off, I checked the soil and it was dried. I watered the soil and made sure that the excess water was drained away from the bottom of the pot. I thought that it might be that the plant was under stress as it had been moved from one place to another.

Two more flowers bloomed and I used a cotton swab to transfer the pollen across from one flower to the other and vice versa. The pollens are sticky and they are quite difficult to transfer to the stigma of the pistil. The stigma is also sticky and the pollens get stuck on them.

After two days, the flowers withered and I'm hoping for the pollination to be successful. From the internet, it seems that the pollination is not usually successful and will depend on many factors. Today, I saw one of the "ovary" dropped from the plant. The other is still on the plant and I hope that this one will develop into seed pod.


One "ovary" dropped
One "ovary" dropped.


Friday, 11 December 2015

DIY Vertical Garden for my balcony

I ordered a 18-pocket vertical garden hanging planter from eBay and it should delivery after 15 December 2015. The dimensions are 50cm x 100cm (see below). I noticed that there is green colour planter and luckily I didn't order the black one. I think the green planter will be perfect for the vertical garden.

18-Pocket-Hanging-Vertical-Garden-Planter-Indoor-Outdoor-Decoration-Herb-Pot
Picture from eBay


Initially, I thought of just having one 18-pocket planter. But my wife said that it is not big enough. So, I started to design a frame structure to hold two 18-pocket planters. That will give a vertical garden area of 1m x 1m since I can combine two 18-pocket planters.

2x 18-pocket planters

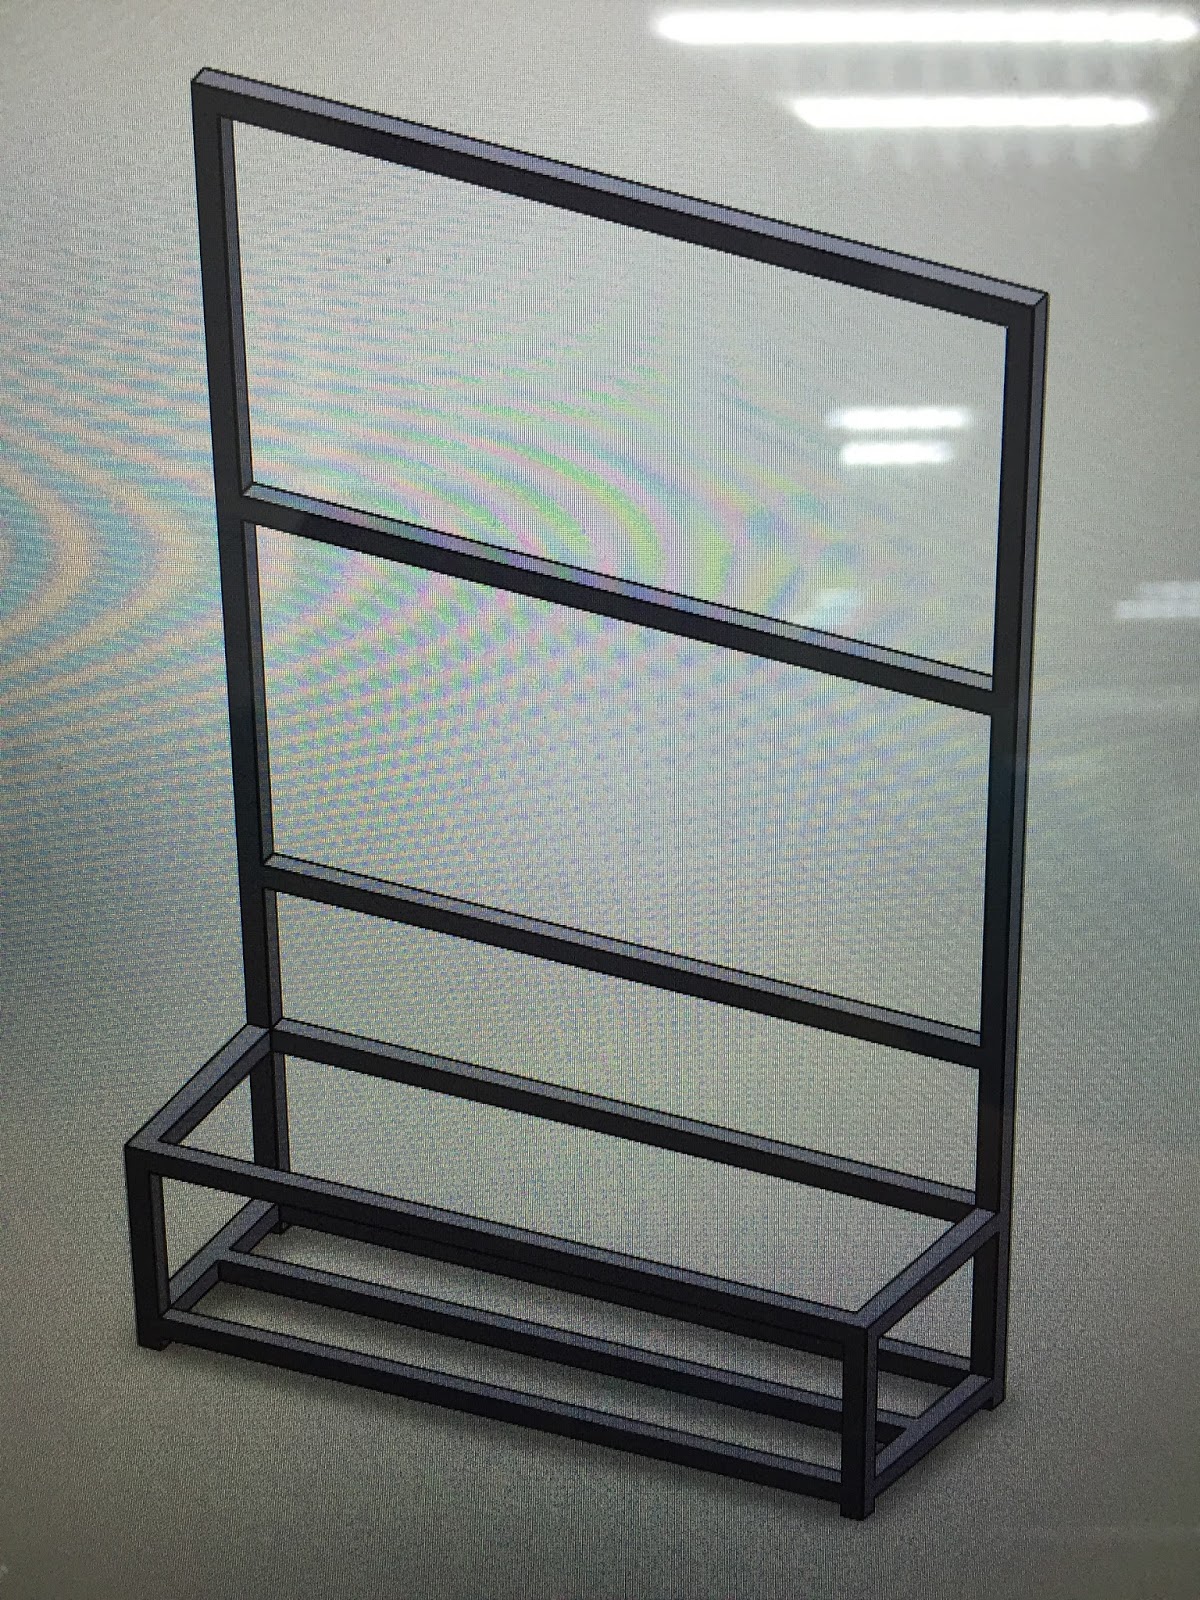
I will need to hang the two 18-pocket planters onto a frame. The frame material will be aluminium. I have made a couple of designs.
Frame design 1


Frame design 2

I sent the designs to my friend and he thought the frames are readily available in the shop. I told him that I need to provide the dimensions of the aluminium profile bars to the supplier so that the supplier can cut them to the lengths that I need. I will need to get the connectors to join the bars together.

My wife thinks that 1m width vertical garden is not good enough, she prefers to have 1.5m in width. Thus, I will need to increase the 1m to 1.5m. Luckily I have not purchased the bars and still have time to consider the correct lengths to cut. My only concern is that the 1.5m width will make the frame structure weakly and I will need to consider the strength of the frame design. Also, I will need to add another 18-pocket planter to the original design so that I will have 3pcs 0.5m x 1m = 1.5m x 1m planters for the vertical garden.

I checked with the eBay seller whether I can get discount for the additional 2pcs that I'm going to order. His reply is prompt and said that as the price is discounted already and he couldn't get further discount even if I purchase two pieces. The package that I have ordered arrived on 18 Dec and it almost filled up the entire mailbox. I wanted to order another 2pcs but I think I will order it separately so that the delivery will be one after another so that the mailbox can hold one at a time. I don't think the postman can squeeze the two packages into my mailbox. I will wait a few days and when the 2nd package has been posted, I will order the 3rd package.


18-pocket planter has arrived!
The 18-pocket planter arrived safely. It is what I have envisaged and I will use this piece to design the frame. My design idea for the frame is to hang and secure the 3pcs 18-pocket planters side by side. This will cover an area of 1.5m x 1.0m rectangle. I will need to calculate the height of the frame. I plan to have a planter box in front of the frame to hold rectangular plastic pots. In the Frame design 1 and 2 pictures above, you can see the planter box area. I want to buy readily available plastic pots or containers and place them into the planter box area. I will need to buy them and check the dimensions so that I can design the planter box. I will place a plastic sheet onto the frame before I hang the pocket planters. The plastic sheet will extend all the way down to the planter box so that when I water the top of the pocket planters, the excess water will flow down towards the planter box.


Sunday, 6 December 2015

Kalanchoe from Holland

I happened to see a few pots of Kalanchoe (from Holland) selling at Cold Storage @ West Mall. There is no price-tag on it and we asked a sales person and was told that it costs only $6.88. They look good and are flowering. There are a few colours to choose, pink, orange and red. My daughter chose the pink one. I was thinking of buying the orange one. But come to think of it, I should have bought all the three colours since they look very nice. It would look great if I have a pot that have the three colours.

Kalanchoe from Holland

There are many posts in the internet that say Kalanchoe is easy to care for and for it to grow the buds for flowering, you need to follow some simple steps to trick the plant to think that it is already winter. After a few weeks of thinking that it is winter, when the day becomes longer, the plant will think that it is spring and starts to grow buds for flowering.

Pink Kalanchoe from Holland


Purple Kalanchoe from Holland

Red Kalanchoe from Holland

Kalanchoe belongs to the succulent family which can survive in dry conditions. So, it likes soil that does not retain water and can drain easily. I think cacti media will be suitable for them. I will need to water it thorough and drain the water away and water again when the soil is dry.

They like bright indirect sunlight so that the leaves will not get burn by the direct sunlight. I place it near a window to get as much indirect light as possible.

As a person who likes to grow plants, I would try to propagate the plants and get many baby plants from the parent plant. But before I can do that, I need time to learn how to grow the plants well. I will update in my post on the status. I hope that they can adapt well in Singapore's climate.

Let me know if you are interested in my progress and I will email you when I have a new post. Thanks.

Thursday, 3 December 2015

Vertical Garden DIY for balcony

I want to create a vertical garden for my balcony but my budget is less than $400. I think if I were to custom-made one with 1m (wide) by 1.8m (height), it will cost me at least $1K.

Google is your best friend to find the stuff that you need.

Materials that I need:
  • 2x 32-pocket vertical planter (size 50cm width x 140cm height) ~ $90
  • IKEA ÄPPLARÖ Bench with wall panel ~ $184
  • Plants and planting media ~ $100
So, the total is about $374 which is within my budget of $400. Unless I can purchase some wooden stripes to make a frame, maybe the easiest way is to buy the IKEA bench with wall panel.

The above project will start in end December 2015. I will need to check out the bench with wall panel at IKEA first and then confirm the size of the vertical planter pockets that I need to purchase from eBay.

Thursday, 12 November 2015

Growing avocado in Singapore

Time to check in with growing avocado in Singapore. I have three avocado seedlings growing in the pots with soil. They are on my windowsill that faces the western sun. The seedlings are growing well with new leaves appearing. One of the seedlings has a lot of leaves that make the top a bit heavy for the stem. I want the seedlings to have more branches instead of growing upwards. So, I need to trim or prune it. The leaves at the very bottom are quite hard to touch. They are not soft liked the new leaves that form on the canopy. I do not want the seedlings to grow tall as I know that avocado can grow into a tree if it is left unpruned.

As you can see from the photo below, the seedling has many leaves and there is only one branch. I think by trimming the top leaves, it will force the seedling to grow new branches. I also trimmed the branch to promote growth of other branches. Let's hope this works.

Avocado seedling
Avocado seedling
The pit of the avocado does not have the same phenomena as the one in water. The pit is still the same size and colour. It does not turn brown and rot as in the case of the avocado growing in water.

Pit of the avocado
Pit of avocado

Another strange that I observed is that some leaves curled up as shown in the photo below. Is it due to the sunlight or normal for the leaves to curl at the stalk area? I'm not sure but the leaves tend to curl inwards and not spread out as in the normal plant.
Leaf curled
Leaf curled

Yes, not just one leaf, there are quite a number of the leaves curling up. Those are smaller in size that the ones at the canopy. That is why I'm suspecting that they are affected by the sunlight.

Leave curling
Leaves curling